If you suspect there is an issue with your or your child’s cochlear implant system, first try the following maintenance tips:
Follow these steps to set up and check that your Neptune™ processor is working properly:
Assemble the Universal Headpiece (UHP): If using the UHP, snap the UHP Color Cap into place and connect the UHP to the UHP Cable. Push the cable connector firmly into the headpiece connector and then place the cable pin in the processor port located below the program button. Push in firmly.
Assemble the AquaMic™ headpiece: If using the Neptune processor for swimming, bathing or any other water-based activities, you will need to remove the Neptune Connect, attach your Neptune Color Cover, and use the AquaMic headpiece. Snap the Color Cap into place and connect the AquaMic headpiece to the AquaMic cable. Push the cable connector firmly into the headpiece connector and then place the cable pin in the processor port. Push in firmly.
Insert the battery: Remove the battery cover. Insert one AAA battery, making sure it is properly oriented. Replace the battery cover.
Turn on the Neptune processor: Press and hold the On/Off button for 1-2 seconds. The LED within the button should flash to indicate the battery charge. To turn off the processor, press and hold the On/Off button for 1-2 seconds. The orange LED will fade out to indicate that the processor is powering down.
Ensure that the Neptune processor is in a comfortable position at your preferred wearing location.
Ensure that the headpiece is positioned over the internal implant (you will feel the magnetic attraction).
Perform a behavioral listening check, using the Ling Six sounds or another listening activity.

Many cochlear implant recipients enjoy listening to music.
NOTE: AB strongly recommends that the Auxiliary Audio Cable only be used with battery-operated devices.
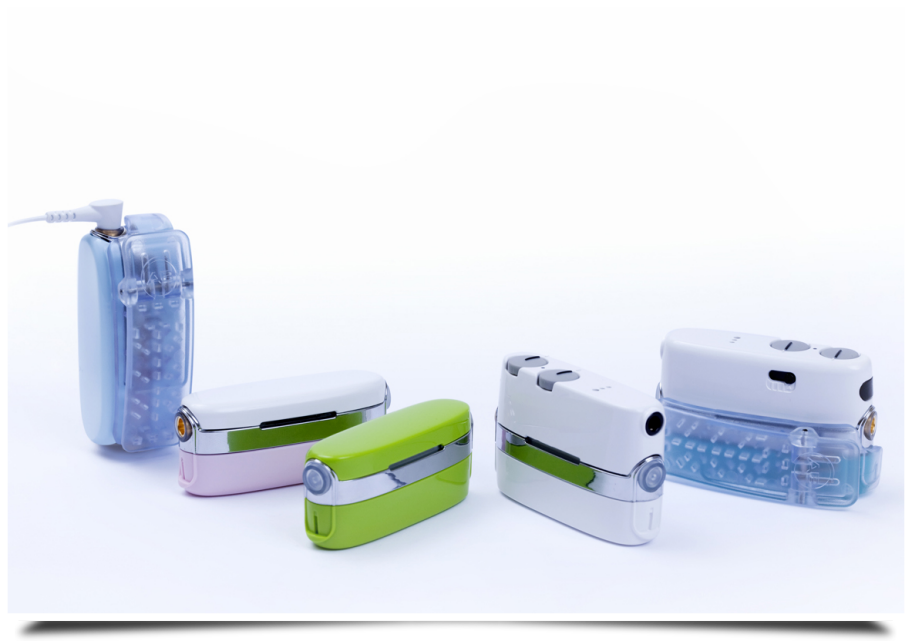
The Neptune Sound Processor comes compatible with convenient features and accessories to help you easily connect to MP3 players, cell phones and other popular consumer electronic devices.
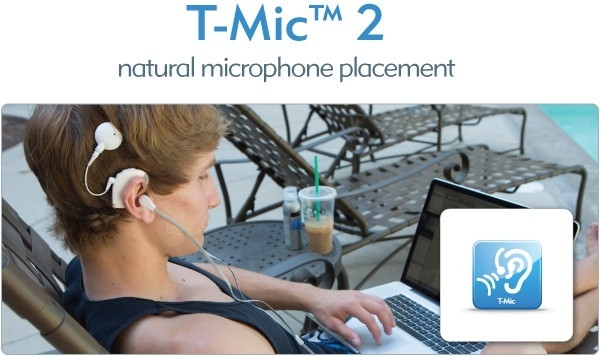
The T-Comm™ accessory delivers the natural placement of the T-Mic™ microphone and lets Neptune recipients wirelessly use earbuds, headphones, cell phones and other audio devices.
Neptune Connect enables instant, direct access to MP3 players, FM systems and many popular consumer electronics.
Staying connected to family and friends over the telephone, or listening to your favorite music on consumer audio devices, can be rewarding experiences for cochlear implant recipients. AB has a full line of accessories to make sure you or your child can connect as conveniently and effortlessly as possible.